

Repurpose Old Coffee Mugs Creatively: 6 DIY Ideas
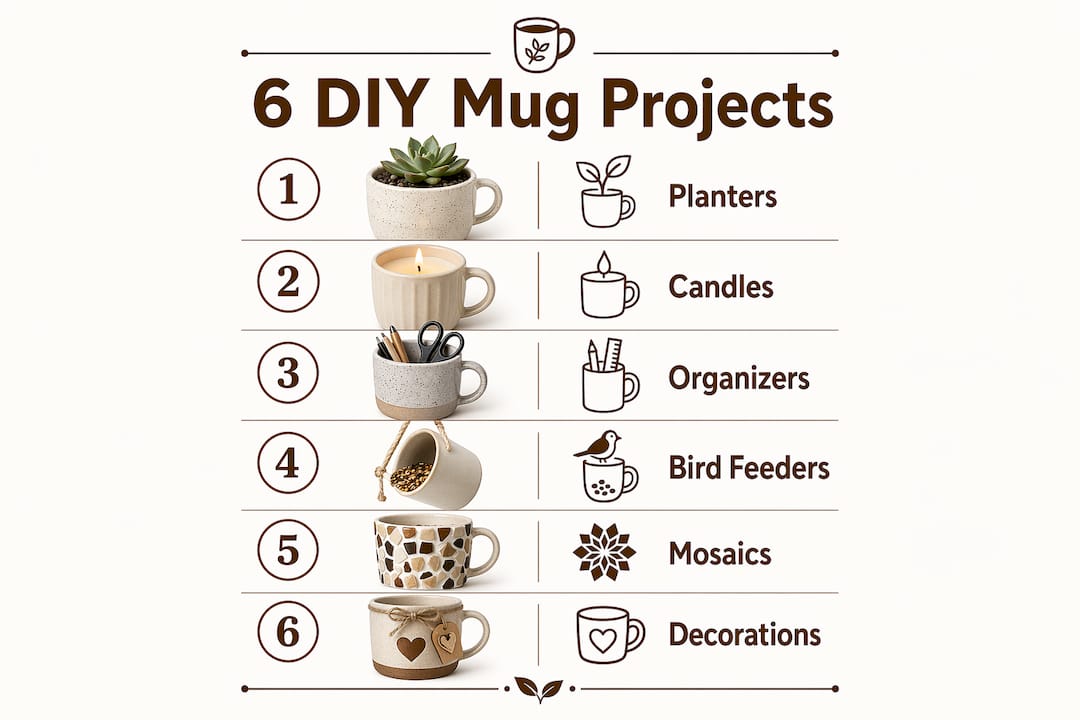
Repurposing old coffee mugs creatively means turning unused, chipped, or sentimental mugs into functional and decorative items that reduce household waste and add real character to your home. Craft enthusiasts and eco-conscious readers have discovered that a single ceramic mug can become a planter, a candle, a bird feeder, or a mosaic art piece with minimal cost and basic tools. The projects covered here range from beginner-friendly candle making to more hands-on mosaic work, so you can start wherever your skill level sits. Dkbeanleaf knows mugs well, and this guide puts that knowledge to work for your next DIY project.
What materials and tools do you need to repurpose old coffee mugs?
The right toolkit determines whether your project succeeds or stalls on day one. Gathering supplies before you start saves time and prevents mid-project trips to the hardware store.
The materials you need depend on the project you choose. Planters require potting soil, small stones or gravel for drainage, and a plastic liner pot. Candles need soy wax flakes, a pre-waxed wick, and essential oils for fragrance. Organizers and decorative pieces call for acrylic paint, decoupage medium, and brushes. Bird feeders use natural twine or a lightweight chain for hanging.
Tools follow the same project-specific logic:
- Planters: Diamond-tipped ceramic drill bit, water for cooling, protective gloves, and safety glasses
- Candles: Microwave-safe bowl, wooden skewer or pencil to hold the wick, and a thermometer
- Organizers: Foam brush, painter’s tape, and sandpaper for surface prep
- Bird feeders: Scissors, natural twine, and a sturdy hook or branch
Pro Tip: Check the mug’s condition before committing to a project. Hairline cracks disqualify a mug from planter or candle use but make it perfect for mosaic work. Thick, heavy mugs handle drilling best.
Mug size matters more than most crafters expect. A mug size guide can help you match the right mug to the right project before you buy supplies. Mugs that are 3–5 inches in depth and width work across the widest range of DIY applications.
| Project | Key Materials | Key Tools |
|---|---|---|
| Planter or herb garden | Potting soil, gravel, plastic liner | Diamond drill bit, gloves, safety glasses |
| Soy wax candle | Soy wax flakes, wick, essential oils | Microwave bowl, skewer, thermometer |
| Desk or bathroom organizer | Acrylic paint, decoupage medium | Foam brush, painter’s tape |
| Bird feeder | Suet or seed mix, natural twine | Scissors, sturdy hook |
| Mosaic art | Tile adhesive, grout, broken pieces | Gloves, safety glasses, towel |
How to upcycle old mugs into plant holders and herb gardens
Mugs make surprisingly effective planters because their ceramic walls retain moisture and their compact size suits windowsill gardening perfectly. The key is managing drainage, since most mugs have no hole in the bottom.
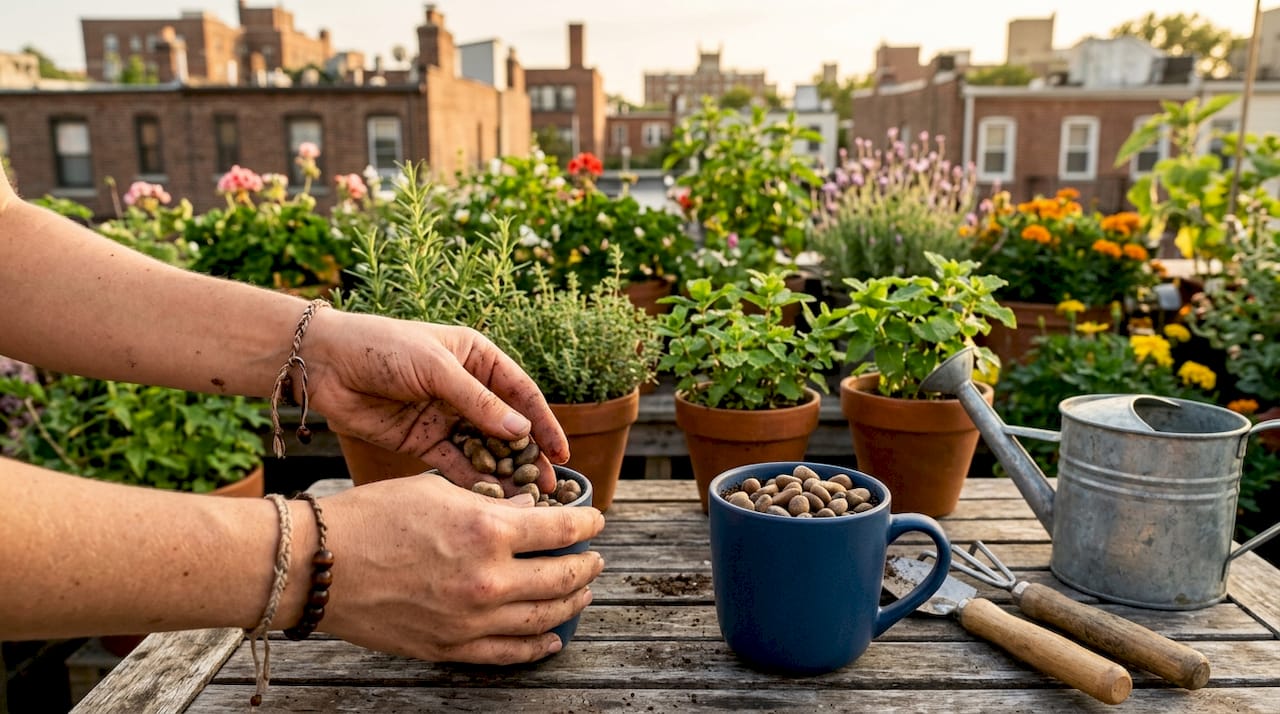
Drilling a drainage hole is the cleanest solution. Ceramic requires a diamond-tipped drill bit and slow, steady pressure with a constant trickle of water to keep the bit cool and prevent cracking. Thick, heavy mugs handle this process far better than thin porcelain. If drilling feels like too much, the alternative works just as well: keep plants in plastic pots inside the mug and empty any excess water every few days to prevent root rot.
The best plants for mug containers are:
- Succulents — Low water needs, shallow roots, and slow growth make them ideal for small mugs.
- Basil — Thrives in a sunny windowsill and grows well in a 4-inch mug with regular watering.
- Thyme — Drought-tolerant and compact, perfect for a kitchen herb display.
- Mint — Fast-growing and fragrant; use a slightly larger mug to give roots room.
- Pothos cuttings — Root easily in water inside a mug, no soil required.
Pro Tip: Add a thin layer of gravel or broken pottery at the bottom of a mug with no drainage hole. It creates a reservoir that keeps roots from sitting in standing water.
Mugs also work beautifully as floral centerpieces. Stems trimmed to 1.5–2 inches taller than the mug’s rim create a professional, balanced look. Floral foam placed inside the mug holds stems in position and keeps diagonal flower arrangements stable throughout the day. Designers note that sentimental mugs are especially well-suited to this use because they integrate emotionally meaningful objects into everyday home decor rather than sending them to the trash.
How to make candles and organizers from old mugs
Old mugs are one of the most practical candle vessels you can use. The ceramic holds heat evenly, the handle makes the finished candle easy to move, and the wide opening releases fragrance well.
Follow these steps for a beginner-friendly mug candle:
- Clean and dry the mug completely. Any moisture will cause the wax to bubble.
- Secure the pre-waxed wick to the center of the mug bottom using a small dot of melted wax.
- Rest the wick across a pencil or skewer laid across the mug’s rim to keep it centered.
- Melt soy wax flakes in a microwave in 30-second intervals, stirring between each round.
- Add 10–15 drops of your chosen essential oil once the wax cools slightly below pouring temperature.
- Pour slowly, leave a half-inch gap at the top, and let the candle cure for 24 hours before lighting.
Pro Tip: Lavender and eucalyptus essential oils are the most popular choices for mug candles because they perform well at low burn temperatures and fill a room without being overpowering.
Mugs also solve a common desk and bathroom clutter problem. Mugs that are 3–5 inches deep hold pens, scissors, rulers, makeup brushes, and toothbrushes within easy reach. Group two or three mugs of different heights together on a tray for a cohesive look that feels intentional rather than improvised.
Decorating the mug before using it as an organizer adds a personal touch. Home decor experts say that simple paint or decoupage can take a mug from purely functional to a genuine display piece. A DIY customization guide walks through painting techniques that work on glazed ceramic surfaces without requiring a kiln or special equipment.
How do you make a bird feeder from an old mug?
A mug bird feeder is one of the fastest DIY projects on this list. The handle does most of the work, giving you a natural hanging point without any drilling required.
Choose the right mug first. Sturdy mugs with intact handles and smooth interior surfaces are the safest option. Avoid mugs with peeling decorative coatings, rough chips along the rim, or antique glazes of unknown composition, since old glazes can contain materials that harm birds. Standard modern ceramic mugs with factory glazes are safe.
Hanging and placement tips:
- Thread natural twine through the handle and tie it securely with a double knot.
- Hang the mug at a slight tilt so seed stays in the bowl without spilling.
- Place feeders at least 5 feet off the ground and near shrubs where birds feel safe landing.
- Avoid hanging directly below tree branches where squirrels can drop down onto the feeder.
- Clean the mug feeder with hot water every week to prevent mold and bacteria buildup.
DIY expert Cameron Wright puts it plainly: simplicity and affordability are the two qualities that make mug bird feeders worth building. A piece of twine and a sturdy mug are genuinely all you need to attract birds to your yard.
Pro Tip: Fill the mug with suet in winter and mixed seed in spring. Suet provides the high-fat energy birds need during cold months, while seed attracts a wider variety of species in warmer weather.
What can you do with chipped or broken mugs?
A chipped or cracked mug is not trash. It is raw material for mosaic art, garden decor, and drainage layers in plant pots.
Safety comes first when breaking ceramic on purpose. Wrap the mug in a thick towel before striking it, and always wear gloves, long sleeves, and safety glasses. The towel contains the shards and prevents them from scattering across your workspace.
Steps for a simple mosaic project:
- Break the mug using the towel method and sort pieces by color and size.
- Choose a base surface: a wooden tray, a picture frame, or a flat garden stone all work well.
- Apply tile adhesive to the base and press ceramic pieces into place, leaving small gaps between them.
- Let the adhesive cure fully, then press grout into the gaps with a gloved finger or sponge.
- Wipe away excess grout with a damp cloth before it hardens.
Broken ceramics have a second life in the garden even without mosaic work. Placed at the bottom of a plant pot, they create drainage that rivals commercial pot shards.
Pro Tip: Sort broken pieces by color before you start. A color-sorted layout makes the design process faster and produces a more polished finished piece.
Painting and decoupage work on mugs that are chipped but still structurally sound. A coat of chalk paint followed by a decoupage layer of patterned tissue paper gives a chipped mug a completely new identity as a decorative shelf piece.
Key Takeaways
The most effective way to reuse old mugs is to match the project to the mug’s condition: intact mugs for planters, candles, and organizers; chipped or broken mugs for mosaics and drainage layers.
| Point | Details |
|---|---|
| Match mug to project | Intact mugs suit planters and candles; chipped mugs work best for mosaics. |
| Manage drainage in planters | Use a plastic liner pot inside the mug and empty excess water regularly. |
| Candle making is beginner-friendly | Soy wax flakes, a pre-waxed wick, and a microwave are all you need to start. |
| Bird feeders need safe mugs | Avoid antique or chipped mugs; use natural twine and clean the feeder weekly. |
| Safety first for mosaic work | Wrap mugs in a thick towel and wear gloves and eye protection before breaking. |
Why I think most people underestimate the mug they’re about to throw away
I’ve repurposed more mugs than I can count, and the one thing that surprises people every time is how much personality a mug carries before you even touch it with a paintbrush. The shape, the weight, the color of the glaze. These things give your finished project a head start that a plain clay pot or a generic glass jar simply cannot match.
The mistake most beginners make is waiting for a “perfect” project before they start. They want the mosaic to be gallery-worthy or the candle to look like something from a boutique shop. That thinking kills the craft before it begins. Start with the easiest project your mug qualifies for, whether that is dropping a succulent into it or filling it with soy wax. The skill builds from there.
What I find most rewarding is the sustainability angle, and not in an abstract way. Every mug you repurpose is one less piece of ceramic in a landfill. Ceramic does not biodegrade. It sits in the ground essentially forever. That fact alone makes even a simple pen holder feel like a meaningful choice. If you want to display your mug collection rather than repurpose every piece, that counts too. The goal is keeping good objects in use.
— Kristopher
Mugs worth crafting with from Dkbeanleaf
Craft projects work best when you start with a mug you actually love. Dkbeanleaf’s white glossy mug is a favorite starting point for candle making and painted organizer projects because its smooth surface takes paint cleanly and its thick ceramic walls hold heat evenly for wax pouring.

Pair a new mug with a selection from Dkbeanleaf’s tea collection and you have a gift set that works for any occasion. Give one mug to a friend for their morning brew and keep one for your next DIY project. Mugs from Dkbeanleaf also make excellent gifts for any occasion because the recipient gets both a quality vessel and a ready-made craft base if they ever want to try repurposing.
FAQ
What is the easiest way to repurpose an old coffee mug?
Turning a mug into a desk organizer or plant holder requires no special tools and takes under five minutes. Mugs that are 3–5 inches deep hold pens, brushes, and scissors perfectly.
Can you drill a hole in a ceramic mug for drainage?
Drilling ceramic requires a diamond-tipped bit and a slow, steady hand with cooling water applied throughout. Thick, heavy mugs handle drilling far better than thin porcelain ones.
What plants grow best in a coffee mug planter?
Succulents, basil, thyme, and mint all thrive in mug-sized containers because their root systems stay compact. Pothos cuttings root directly in water inside a mug with no soil needed.
Is it safe to use any mug as a bird feeder?
Avoid antique mugs with unknown glazes, since old coatings can contain materials that harm birds. Modern factory-glazed ceramic mugs with intact handles and smooth surfaces are safe to use.
How do you break a mug safely for mosaic projects?
Wrap the mug in a thick towel before striking it, and wear gloves, long sleeves, and safety glasses throughout. The towel contains the shards and prevents them from scattering.