

How to Create Coffee Flavor Tasting Notes Like a Pro
Most coffee lovers can tell a good cup from a bad one, but when it comes to putting that experience into words, they hit a wall. You know something bright and fruity is happening, but “fruity” is where the description ends. Learning to create coffee flavor tasting notes changes that. It gives you a structured way to capture what you’re tasting, understand why a coffee tastes the way it does, and make smarter decisions about what to buy and brew next. This article walks you through every step, from setting up your tasting environment to writing notes you’ll actually use again.
Table of Contents
- Key takeaways
- How to create coffee flavor tasting notes: the basics you need first
- Step-by-step guide to tasting coffee mindfully
- Common mistakes that undermine your tasting notes
- How to write and organize your tasting notes
- My honest take on coffee tasting notes
- Gear that makes your tasting practice better
- FAQ
Key takeaways
| Point | Details |
|---|---|
| Use the SCA Flavor Wheel | Start broad with flavor categories and narrow down to specific descriptors for accurate notes. |
| Smell before you sip | Dry fragrance and wet aroma reveal as much as taste; both are part of flavor perception. |
| Keep notes to 1 to 3 descriptors | Limiting descriptors per cup builds clarity and makes comparing coffees easier over time. |
| Control your brew variables | Consistent brewing separates coffee differences from equipment or technique inconsistencies. |
| Log temperature changes | Flavor shifts as coffee cools, and tracking those changes reveals a cup’s full complexity. |
How to create coffee flavor tasting notes: the basics you need first
Before you start scribbling down notes, there’s a quick but important thing to understand about how flavor actually works. Flavor is a combination of taste and smell, which is why professional tasters always smell their coffee before drinking it. Skipping that step means missing half the information.
The go-to reference for any serious tasting session is the Specialty Coffee Association’s Coffee Taster’s Flavor Wheel. It’s a sensory map that trains your nose and palate by moving from broad flavor families on the outer ring to specific descriptors toward the center. Coffee contains over 1,000 aromatic compounds organized into families like fruity, floral, nutty, cocoa, spicy, roasted, and earthy. No single cup expresses all of them, but knowing the families helps you identify what you’re actually sensing.
Tools and setup that make a real difference
Getting consistent results requires a little preparation. Here’s what you need:
- Grinder: A burr grinder delivers a consistent grind size, which directly affects extraction and flavor.
- Scale: Weigh both coffee and water. A 1:15 or 1:16 coffee-to-water ratio is a reliable starting point.
- Thermometer: Water temperature matters. Aim for 195°F to 205°F for most brewing methods.
- Notepad or app: Keep a dedicated tasting log so notes are easy to compare later.
- Clean palate: Avoid strong food or beverages at least 30 minutes before tasting.
- Neutral space: Strong kitchen smells compete with coffee aromas. Taste in a well-ventilated but neutral-smelling area.
| Tool | Purpose | Recommended Spec |
|---|---|---|
| Burr grinder | Consistent grind size | Medium-fine for pour-over |
| Digital scale | Accurate dose and water ratio | 0.1g precision |
| Gooseneck kettle | Controlled pour rate | Built-in thermometer preferred |
| Timer | Repeatable brew time | Any digital timer works |
| Cupping spoon | Even tasting draw | Deep bowl, curved handle |
Pro Tip: Brew the same coffee twice with identical parameters before your first tasting session. If the two cups taste different, your brewing consistency needs work before your notes mean anything.
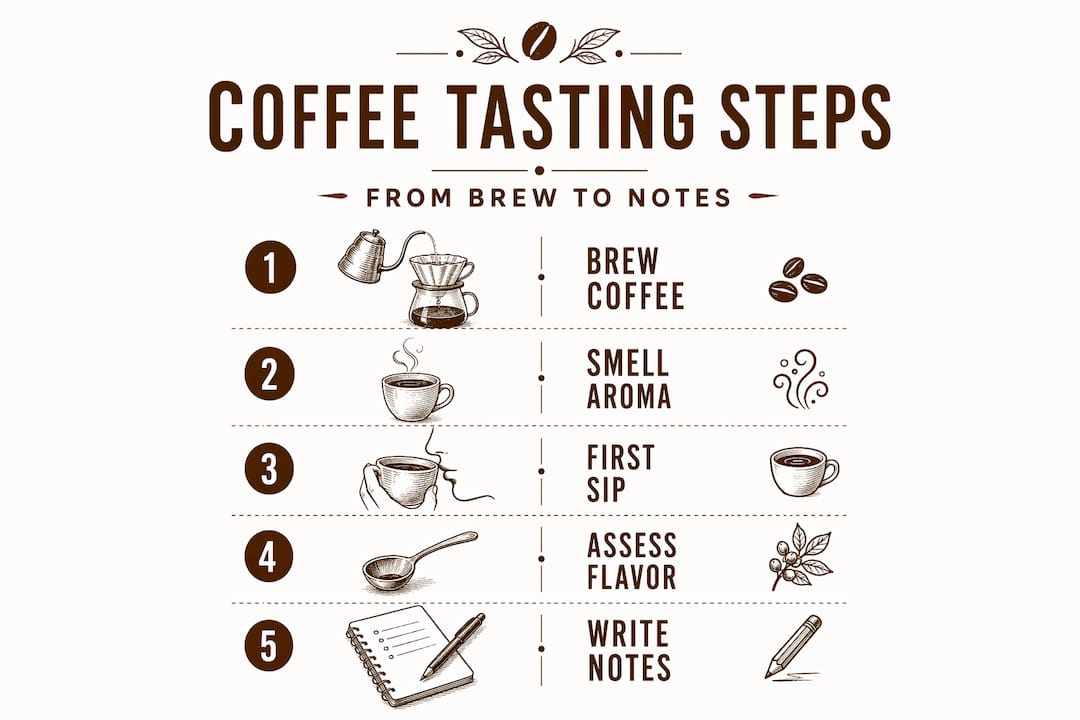
Step-by-step guide to tasting coffee mindfully
This is where the real work happens. Tasting mindfully takes about 10 minutes per cup, and the process has distinct stages that feed directly into your notes. Rushing through this process produces vague, unreliable notes.
-
Smell the dry grounds. Before brewing, open the bag or grind a small amount and inhale. This is called the dry fragrance. Write down the first 1 to 2 broad impressions: fruity, roasted, nutty, floral. Don’t force specifics yet.
-
Brew and smell the wet aroma. Right after brewing, lean in and inhale the steam rising from your cup. The wet aroma often reveals notes the dry grounds hint at but don’t fully deliver. The SCA’s tasting stages treat this as a separate, distinct step for good reason.
-
Take your first sip at drinking temperature (around 155°F to 165°F). Slurp slightly to aerate the liquid across your palate. Focus on acidity first. Is it bright and citrus-like? Soft and apple-like? Tart like berries? Acidity tells you a lot about origin and processing method.
-
Take a second sip and focus on sweetness and bitterness. These two sensations play against each other. A well-balanced coffee has both in proportion. Note which dominates and whether the bitterness is clean (like dark chocolate) or harsh (like burned wood).
-
Assess body and texture. Swirl the coffee gently and notice how it feels. Is it silky? Syrupy? Thin and watery? Body is mostly a tactile sensation, not a taste. Your tasting note fields should include Aroma, Flavor, Acidity, Sweetness, Bitterness, Body, and Finish.
-
Use the flavor wheel to narrow down your descriptors. Start with a broad outer-ring category that matches your impression. Then work toward the center for specifics. This broad to specific approach builds sensory memory and prevents you from forcing a descriptor that doesn’t really fit.
-
Limit yourself to 1 to 3 main flavor descriptors. Research from Craft Coffee Guru suggests that fewer descriptors per cup create clearer, more useful notes and support learning over time.
-
Let the cup cool and taste again at around 90°F to 100°F. This step is where experienced tasters find the most nuance. Acidity and brightness peak at temperatures above 158°F, while sweetness and complexity emerge at mid-range temperatures, and body and base notes dominate when the coffee cools below 104°F.
-
Write your finish note. The aftertaste should be brief but specific. Does it linger pleasantly? Is there a dryness or coating sensation? A clean finish often signals high-quality processing.
Pro Tip: Set a phone timer at three points: right after brewing, at 10 minutes, and at 20 minutes. Taste and jot a single descriptor at each checkpoint. The evolution you capture across those three timestamps is more informative than any single-moment note.
Common mistakes that undermine your tasting notes
Even dedicated coffee drinkers run into the same problems when they start building a tasting practice. Knowing what goes wrong helps you avoid weeks of frustration.
- Jumping straight to specific descriptors. Saying a coffee tastes like “Moroccan apricot jam” before you’ve even identified a broad fruity category is a common early mistake. Selecting broad aromatic families first, before refining specifics, keeps your notes honest.
- Changing brew variables between sessions. If you use a different grind size, water temperature, or dose when tasting the same coffee twice, you’re not comparing the coffee. You’re comparing two different brews. Consistent brewing variables are what make notes comparable and trustworthy.
- Confusing brew defects with coffee character. A sharp, acrid bitterness is usually over-extraction, not the coffee’s natural profile. Metallic notes often point to unclean equipment. Before blaming the beans, check your technique.
- Trying to impress yourself with poetic language. “Reminds me of cedar and rain” might feel inspired, but it doesn’t help you remember what you tasted. Your sensory guide to coffee perception matters more than creative writing.
- Tasting only one temperature. This is probably the most widespread missed opportunity in home tasting. The cup at 10 minutes tastes different than at 20 minutes. Both are worth noting.
Pro Tip: Build your “flavor memory bank” by referencing everyday foods. Keep a lemon, a handful of walnuts, and a piece of dark chocolate nearby during early tasting sessions. Comparing the coffee directly to a known reference object trains your palate faster than any app or course.
How to write and organize your tasting notes
Structure matters. A random string of impressions in your notes is hard to use later. A template with consistent fields makes every session comparable, and you’ll start seeing patterns within a few weeks.
Here’s a template that works well for most coffee tasting sessions:
- Coffee name and origin
- Roast level (light, medium, dark)
- Brewing method and parameters (dose, ratio, water temp, brew time)
- Dry fragrance: 1 to 2 words
- Wet aroma: 1 to 2 words
- Acidity: type and intensity (e.g., bright citrus, mild apple)
- Sweetness: present, moderate, low
- Bitterness: clean, mild, sharp
- Body: silky, syrupy, light, drying
- Flavor notes: 1 to 3 main descriptors
- Finish: short/long, clean/lingering
- Overall impression: one sentence
When writing flavor notes, use phrases like “leans toward” or “reminds me of” instead of asserting absolutes. This phrasing keeps you honest and acknowledges that sensory experience is subjective.
Here’s how two different coffees might look side by side, using this structure:
| Field | Ethiopia Yirgacheffe | Colombia Huila |
|---|---|---|
| Acidity | Bright, citrus-forward | Soft, apple-like |
| Body | Light, tea-like | Medium, smooth |
| Sweetness | Floral, jasmine | Brown sugar, caramel |
| Flavor notes | Bergamot, lemon, peach | Milk chocolate, walnut, red grape |
| Finish | Clean, short | Long, cocoa lingering |
A real-world example of layered tasting notes comes from specialty roasters describing a Rwanda washed coffee as full and sweet with plum, mandarin orange, oolong tea, and a crème brûlée sweetness. That’s the kind of note you’ll write once you’ve been practicing for a few months. You don’t get there in one sitting.
Understanding how roast levels affect flavor and how bean origin shapes a coffee’s profile will add useful context to your notes over time.
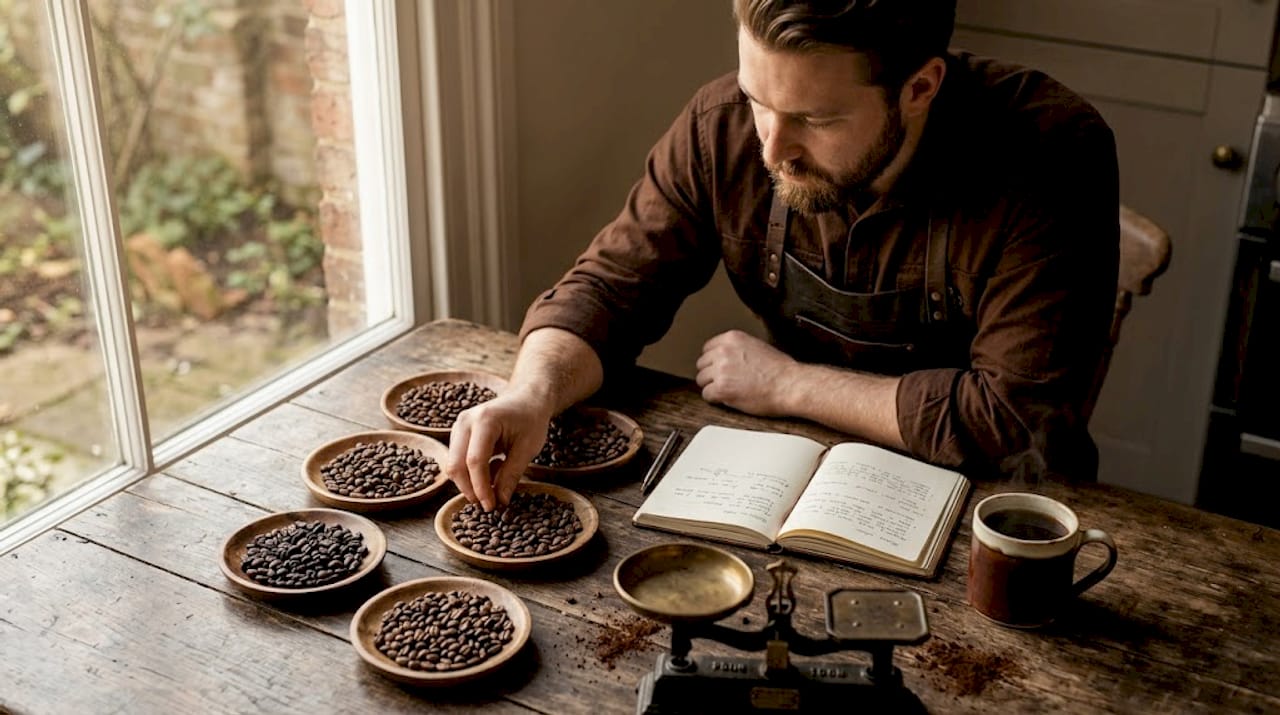
My honest take on coffee tasting notes
I used to overthink every cup. I’d taste something and immediately want to call out 12 different flavor notes because it felt like that’s what a serious taster would do. It didn’t work. The notes were confusing, I couldn’t repeat them, and they didn’t actually help me choose better coffee.
What helped me most was the three-descriptor rule. When I forced myself to land on no more than three broad notes per cup, my accuracy improved fast. I stopped performing and started actually tasting.
The other thing that changed everything was the cool-down protocol. I started tasting at three temperature points, and what I found surprised me. The coffee I thought was “just okay” at drinking temperature became genuinely interesting as it cooled. That acidity softened, and something chocolatey I’d completely missed showed up. That discovery alone made me trust the process more than any article or course ever could.
My advice: forget the poetry for now. Write what you actually smell and taste, even if it’s just “smells like blueberries and dirt.” That’s real. That’s useful. Over time, you’ll refine it. But starting honest beats starting impressive every time.
— Kristopher
Gear that makes your tasting practice better
If you’re building a real tasting practice, the right mug matters more than people think. Vessel shape, material, and size affect how aromas reach your nose and how the coffee cools. At Dkbeanleaf, you’ll find a range of coffee mugs sized and styled for serious enjoyment, whether you’re doing a solo tasting session at home or sharing the experience with friends.

For tasting on the go without sacrificing quality, the travel mug with a handle gives you a consistent drinking experience that keeps your notes reliable even outside your kitchen. And if you want to sharpen your palate with real variety, the flavored coffees sample pack from Dkbeanleaf is one of the best ways to practice across multiple profiles in a single order. Different flavor families in the same session accelerate learning faster than tasting one coffee at a time.
FAQ
What is coffee tasting notes, exactly?
Coffee tasting notes are written descriptions of a coffee’s sensory characteristics, including aroma, flavor, acidity, body, sweetness, and finish. They help drinkers communicate and compare flavor experiences in a consistent, repeatable way.
How do I describe coffee flavors if I’m a beginner?
Start by using the SCA Coffee Taster’s Flavor Wheel to identify a broad flavor family (fruity, nutty, floral) before narrowing to specific descriptors. Limiting yourself to 1 to 3 descriptors per cup keeps early notes clear and useful.
How many flavor notes should I include per cup?
Most tasting experts recommend keeping it to 1 to 3 main flavor descriptors per cup. More than that tends to create confusion and makes it harder to compare coffees over time.
Why does my coffee taste different as it cools?
Coffee flavor changes significantly with temperature because acidity and brightness are most noticeable in hot coffee, while sweetness and body-forward notes emerge as the cup cools. Tasting at multiple temperature points captures the full profile.
What brewing parameters should I keep consistent for tasting?
Use the same coffee dose, water ratio, water temperature (195°F to 205°F), grind size, and brew time every session. Changing even one variable can shift the flavor enough to make notes unreliable and difficult to compare.
Recommended
- Why coffee smells better than it tastes: a sensory guide – D&K Bean and Leaf
- Coffee roast levels explained: tasting notes and brewing tips – D&K Bean and Leaf
- What is coffee bloom: your complete brewing guide – D&K Bean and Leaf
- Explore every coffee roast: types, tastes, and brewing tips – D&K Bean and Leaf