

Pour Over Coffee Best Practices for Better Brews
Pour over coffee best practices separate a flat, forgettable cup from something you actually look forward to every morning. The method goes by many names among coffee professionals. “Filter coffee” or “manual brew” is the industry standard terminology, but whatever you call it, the fundamentals are the same: grind, water, technique, and timing all have to work together. Most beginners get one or two of these right and wonder why their cup still tastes off. This article walks you through every variable that matters, with specific numbers and real adjustments you can make today.
Table of Contents
- Key Takeaways
- 1. Pour over coffee best practices start with the right equipment
- 2. The best coffee grind for pour over
- 3. How to brew pour over coffee step by step
- 4. Troubleshooting common pour over mistakes
- 5. Dripper types and how they change your technique
- 6. Best practices for iced pour over coffee
- My honest take on mastering pour over
- Gear that makes every cup worth drinking
- FAQ
Key Takeaways
| Point | Details |
|---|---|
| Grind size controls everything | Use a medium-fine grind and adjust it first before touching any other variable. |
| Measure every brew | Weigh coffee and water to 0.1g accuracy for repeatable, consistent results every time. |
| Bloom before you pour | A 30 to 45 second bloom releases trapped gas and sets up even extraction across the bed. |
| Brew time is your diagnostic | Target 2:30 to 3:30 minutes total; outside that range, adjust grind before changing anything else. |
| Dripper choice affects technique | Flat-bottom drippers forgive uneven pours; conical drippers reward precision and skill. |
1. Pour over coffee best practices start with the right equipment
Before any technique matters, your gear either helps you or fights you. You do not need to spend a fortune, but a few specific tools make a real difference in consistency.
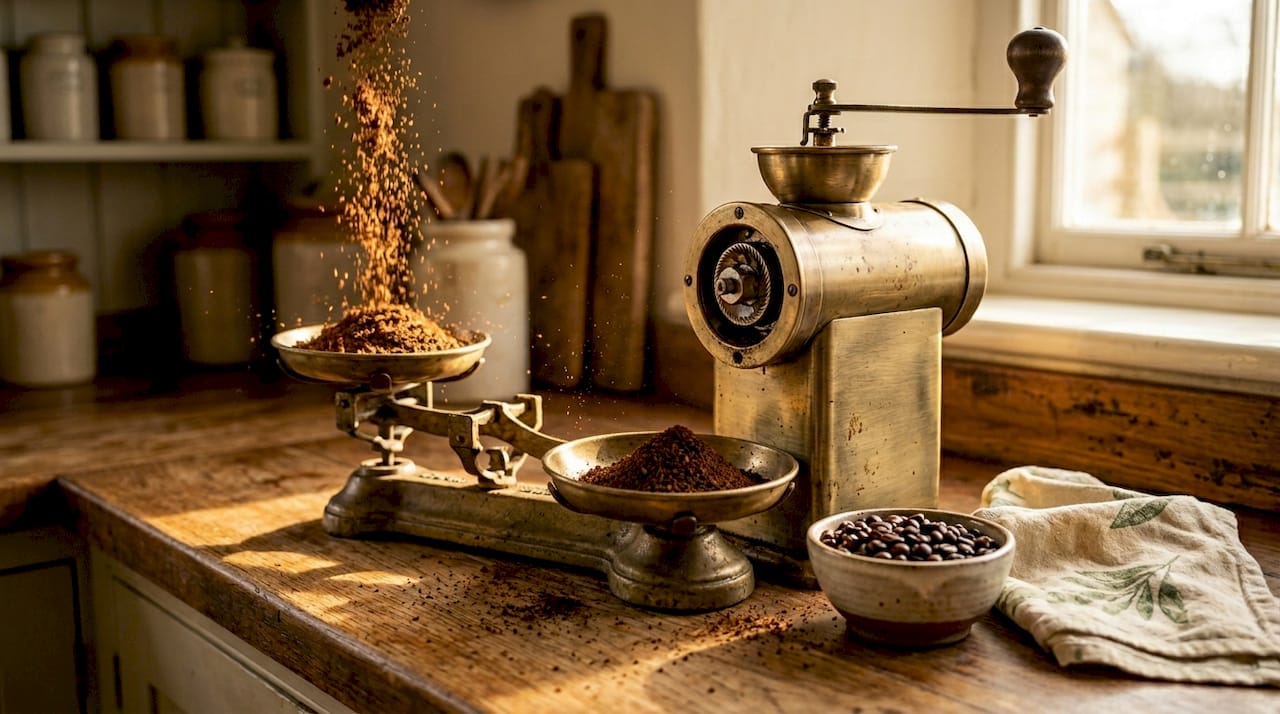
A burr grinder is the single most important piece of pour over coffee equipment you can own. Blade grinders chop unevenly and produce a mix of fine powder and chunky pieces that extract at wildly different rates. A burr grinder, even a budget hand grinder, produces uniform particles that give you a predictable cup every time.
Beyond the grinder, a digital scale with timer is the tool that separates casual brewers from consistent ones. Weighing both your coffee and water to 0.1g accuracy takes the guesswork out of every variable. Scooping with a spoon is not precise enough.
Here is the core equipment list to get started:
- Burr grinder (hand or electric) for uniform particle size
- Digital scale with built-in timer for dose and water measurement
- Gooseneck kettle for controlled, targeted pouring
- Pour over dripper (V60, Kalita Wave, or Chemex)
- Matching paper or metal filters for your dripper
- Filtered water to avoid chlorine interference with flavor
Water quality deserves more attention than most guides give it. Tap water with heavy mineral content or chlorine noticeably flattens the flavor of a good coffee. A simple carbon filter pitcher is enough. You want water with mild mineral content, not distilled, not heavily treated.
Pro Tip: Preheat your kettle and set a target temperature before you grind. Grinding while the water heats saves time and keeps your workflow smooth.
Check out the roast level guide at Dkbeanleaf for tips on how roast profile affects which water temperature range works best for your beans.
2. The best coffee grind for pour over
Grind size is the lever you reach for first, before water temperature, before ratio, before anything else. Coarser grinds cause sour, under-extracted cups; finer grinds cause bitter, over-extracted ones. Getting this right is the foundation of every good brew.
For pour over, medium-fine is your baseline. Think table salt or slightly finer. If you have a numbered grinder, start in the middle and work from there based on taste.
Grind fresh, every time. Coffee stales within 15 to 30 minutes after grinding. Pre-ground coffee loses aromatics fast, which means you are already starting behind.
3. How to brew pour over coffee step by step
This is where technique becomes tangible. Follow these steps in order and you will see a marked improvement in clarity and balance from your first brew.
- Measure your dose and water. The 1:16 coffee-to-water ratio is the standard starting point. For 20g of coffee, use 320g of water.
- Grind to medium-fine consistency right before you brew.
- Rinse the filter. Place the paper filter in the dripper and pour hot water through it. This removes papery taste and preheats the brewer, which prevents temperature drop at the start.
- Discard the rinse water from your cup or carafe.
- Add your ground coffee and level the bed with a gentle shake.
- Start the bloom. Pour 40 to 60g of water over the grounds in slow, even circles. Every part of the bed should be saturated. Start your timer.
- Wait 30 to 45 seconds. You will see the coffee puff up and release gas. That is CO2 escaping, and it is a sign your coffee is fresh. Read more about why this phase matters in the coffee bloom guide from Dkbeanleaf.
- Continue pouring in slow spirals from center to edge and back, keeping the water level steady.
- Pulse pour if needed. Let the level drop slightly, then add more. This controls saturation and prevents overflow.
- Hit your total water weight and let the bed drain fully.
- Target a total brew time of 2:30 to 3:30 minutes. If you finish faster or slower, adjust your grind at the next brew.
Pro Tip: Pour in a spiral from the center outward, not just in one spot. Even saturation across the entire bed is what gives you clean, balanced extraction.
Baristas emphasize steady pours and bloom as the two actions that most directly affect flavor clarity. The gooseneck kettle is what makes both possible at home.
4. Troubleshooting common pour over mistakes
When your cup tastes off, the answer is almost always in the numbers. Here is how to read the symptoms.
| Flavor Problem | Likely Cause | Adjustment |
|---|---|---|
| Sour or sharp taste | Under-extraction, grind too coarse | Grind finer by one step |
| Bitter or harsh taste | Over-extraction, grind too fine | Grind coarser by one step |
| Weak and watery | Too little coffee or fast drawdown | Increase dose or grind finer |
| Flat with no clarity | Stale beans or poor water | Use fresh beans, filtered water |
| Uneven extraction | Inconsistent pour or uneven bed | Improve pour spiral, level grounds |
Drawdown time is your diagnostic tool. If your total brew finishes in under two minutes, the water ran through too fast. Grind finer. If it takes over four minutes, the grind is too fine and the water is choking through. Back off one step.
The most common mistake brewers make is changing two or three things at once. Only adjust one variable at a time, starting with grind. Once brew time is dialed in, you can explore temperature or ratio as secondary refinements. Simultaneous changes make it impossible to know what actually fixed the problem.
For bitterness specifically, the bitter coffee fix guide at Dkbeanleaf breaks down every possible cause beyond grind size, including water temperature and extraction time.
5. Dripper types and how they change your technique
Not all drippers behave the same way, and the choice matters more than most people realize.
- V60 (conical, single hole): Fast flow rate, high technique sensitivity. Every aspect of your pour directly affects extraction. This is the brewer that rewards skill and punishes inconsistency. Conical drippers are more sensitive to pour technique and demand precise, even spirals.
- Kalita Wave (flat-bottom, three small holes): More forgiving. The flat bed and restricted holes slow the drawdown and smooth out uneven pours. A better starting point for newer brewers.
- Chemex (conical, thick filter): The thick proprietary filter holds back oils and fines, producing a very clean, light-bodied cup. Great for light roasts and floral notes. Less forgiving of a grind that is too fine.
Filter thickness and dripper shape change how much margin for error you have on every pour. If you are just starting out, flat-bottom drippers give you more consistent results while you build muscle memory.
Match your device to your current skill level and flavor goals. If you want full control and love the process of dialing in every detail, the V60 is worth the learning curve. If you want great coffee with less fuss, the Kalita Wave delivers.
6. Best practices for iced pour over coffee
Iced pour over is not just regular pour over poured over ice. Done wrong, you get a diluted, flavorless cup. Done right, it is one of the best ways to serve a bright, fruit-forward coffee.
The key adjustments:
- Use a stronger ratio. A 1:12 coffee-to-water ratio compensates for the dilution from melting ice.
- Try the flash brew method. Brew directly onto ice in a carafe below your dripper. The ice rapidly chills the coffee and replaces the water volume you removed from the recipe.
- Never pour hot brewed coffee over ice. The coffee shatters the ice unevenly, dilutes fast, and goes from hot to lukewarm instead of properly chilled.
- Chill before adding ice. If you are not flash brewing, brew at full strength, let it cool to room temperature, then pour over ice.
- Use coffee ice cubes. Freeze brewed coffee in an ice cube tray. When those cubes melt in your glass, they add more coffee instead of watering it down.
Pro Tip: For flash brew, put your full ice volume in the carafe before you start pouring. That way the total liquid in your cup stays at your target volume once the ice melts.
My honest take on mastering pour over
I have been brewing manual coffee long enough to know that most people overcomplicate this. They buy better beans, try new drippers, obsess over water chemistry. And then they still cannot figure out why Tuesday’s cup was better than Wednesday’s.
In my experience, the answer is almost always grind size and measurement. Not the brand of dripper. Not the exact water mineral content. Grind and measure. Every time. The brewers I have seen make the fastest progress are the ones who write down what they did and change only one thing per session.
The other thing I have learned is that the bloom phase gets skipped more than any other step, and it shows. Coffee brewed without a proper bloom tastes flat and muddy compared to the same beans brewed with one. That 40 second pause is not optional.
One more honest truth: your dripper matters less than your consistency. I have had spectacular cups from a five-dollar plastic V60 and mediocre cups from a $60 Chemex. The tool does not save you. The habit does.
— Kristopher
Gear that makes every cup worth drinking
Your technique is only part of the picture. What you brew into matters too.

At Dkbeanleaf, we have the mugs that hold your pour over the way it deserves. From the classic white glossy mug for your morning ritual to a rugged enamel mug for outdoor brewing, every option in our full mug collection is built for people who care about the details. If you brew on the go, the travel mug with handle keeps your pour over at the right temperature without sacrificing the feel. Find your perfect mug size before your next brew session.
FAQ
What is the ideal water temperature for pour over coffee?
Target water at around 200°F (just off boil). Light roasts can handle slightly hotter water; dark roasts do better a few degrees cooler to avoid harsh bitterness.
How long should a pour over take to brew?
Total brew time should fall between 2:30 and 3:30 minutes. If it finishes outside that window, adjust your grind size before changing anything else.
What is the best coffee-to-water ratio for pour over?
Start with 1:16, meaning 1g of coffee for every 16g of water. A 20g dose with 320g of water is a practical starting point for a single serving.
Why does my pour over taste sour?
Sourness signals under-extraction. Your water moved through the grounds too quickly. Try grinding slightly finer and check that your bloom fully saturated the bed.
Do I really need to rinse the paper filter?
Yes. Rinsing removes the papery taste from the filter and preheats the dripper so your water temperature stays stable from the first pour onward.