

Why Pour Rate Matters in Coffee: A Home Brewer's Guide
Pour rate directly controls extraction, which means it controls whether your cup tastes bright and sweet, or flat and bitter. Pour too fast and water races through the grounds before pulling enough flavor — you get a sour, thin cup. Pour too slow and water lingers, pulling harsh, woody compounds that overpower everything else. The fix is simpler than most guides admit: build a steady, repeatable pouring rhythm and use a gooseneck kettle to keep it consistent.
Here’s what this guide covers:
- How pour rate changes extraction at a physical level
- Why the bloom pour is the most important 45 seconds of your brew
- A step-by-step routine with flow-rate targets you can actually measure
- How pour rate interacts with grind size and dose
- Gear that makes flow control easy
- A troubleshooting table for sour, bitter, and uneven cups
Pro Tip: Before your next brew, time yourself pouring over a scale for 10 seconds and divide the grams by 10. That single number — your flow rate in g/s — tells you more about your technique than total brew time ever will.
Table of Contents
- Why pour rate matters in coffee: the science of extraction
- Why the bloom pour sets up everything that follows
- How to build a simple, repeatable pour routine
- How pour rate interacts with grind, dose, and brew time
- What gear actually helps you control flow rate
- Troubleshooting your cup: symptoms, causes, and fixes
- Key Takeaways
- The part most guides skip
- Gear and apparel for brewers who take their cup seriously
- Useful sources and further reading
Why pour rate matters in coffee: the science of extraction
Pour rate is a primary lever for extraction because it controls two things simultaneously: how long water contacts the grounds, and how much physical agitation the coffee bed experiences. Both variables shape which flavor compounds dissolve and in what order.
Agitation is the part most home brewers overlook. When water hits the coffee bed, it disturbs the grounds. A fast, high pour creates turbulence that pushes fine particles — called fines — toward the filter. Too much agitation clogs filters with fines, producing a muddy, over-extracted cup. Too little agitation leaves dry pockets in the bed where water never reaches, creating sour, under-extracted sections alongside properly extracted ones.
This is why two brews with identical total brew times can taste completely different. Flow consistency matters more than total time because fluctuating pour forces create uneven extraction zones even when the clock reads the same. A brew where you poured fast, then slow, then fast again will taste muddier than one where you held a steady 5 g/s the whole way through — even if both finished at 3:00.
Channeling is the hidden enemy of an even cup. When water finds a fast path through the bed — usually from an inconsistent pour or an uneven grind — it exploits that channel repeatedly, over-extracting that zone while leaving the rest of the bed barely touched. The result is a cup that tastes simultaneously sour and bitter, which is the most confusing outcome a home brewer can face.
For a deeper look at common pouring mistakes that cause exactly these problems, the D&K Bean and Leaf blog covers them in practical detail.
Why the bloom pour sets up everything that follows
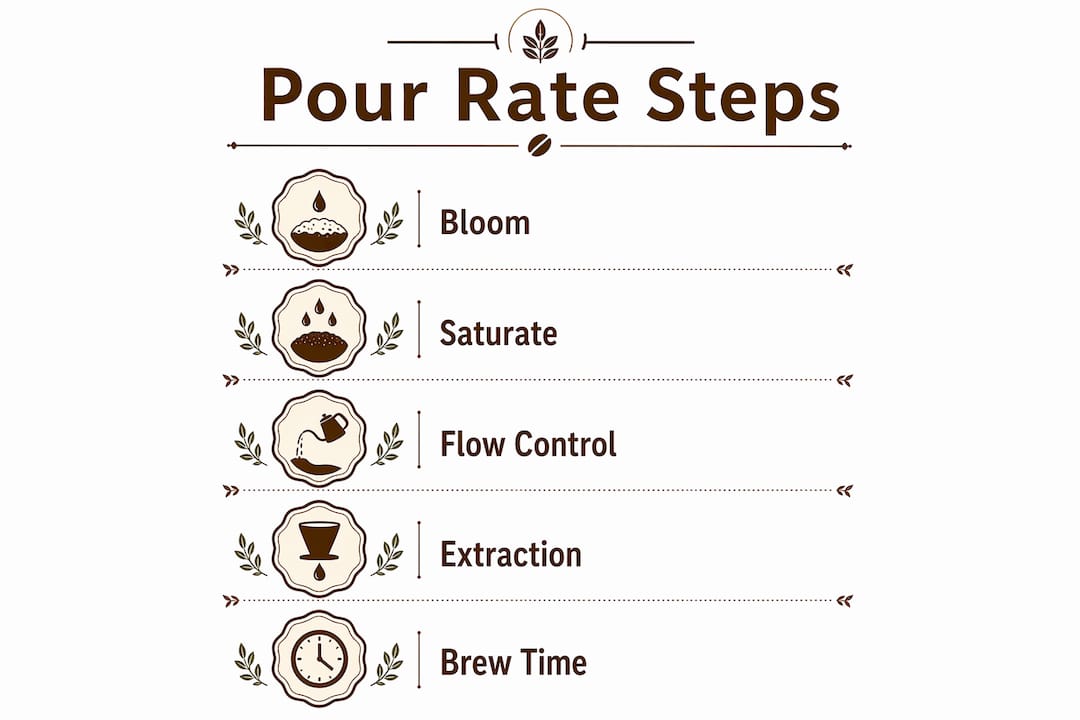
The bloom is the first pour, and it does one specific job: it drives off CO2 trapped inside freshly roasted beans. If you skip it or rush it, CO2 creates a barrier between water and coffee during the main pours, causing uneven saturation and channeling.
Use roughly 2–3× the coffee weight in water and let it sit for 30–45 seconds. For a 15 g dose, that means 30–45 g of water. For a 20 g dose, use 40–60 g. The math is simple; the discipline to wait is the harder part.
Pro Tip: Watch the coffee bed during bloom. If it domes up and you see bubbles breaking the surface, the beans are fresh and actively degassing. A flat, still bed means older beans — you can shorten the bloom to 20–25 seconds and move on.
Here’s a quick bloom routine:
- Pre-wet the filter with hot water and discard it.
- Add your ground coffee and level the bed gently.
- Start your timer and pour 2–3× the coffee weight in water in a slow, tight spiral.
- Stop pouring and wait 30–45 seconds while the bed blooms.
- Begin your main pours only after the bloom settles.
The bloom also sets the physical structure of the coffee bed. A slow, controlled first pour saturates grounds evenly, so later pours flow through a consistent matrix rather than finding gaps. For a full breakdown of bloom mechanics and timing, the D&K Bean and Leaf guide goes deeper on why freshness changes the equation.
How to build a simple, repeatable pour routine
There is no single perfect pour speed; the goal is consistency so grind size becomes your primary flavor dial. Once your pour rhythm is stable, a small grind adjustment reliably moves the cup in a predictable direction. When your pour varies, you can’t tell whether a sour cup came from the grind or the technique.
Most pour-over recipes work well within a moderate flow rate range suitable for consistent extraction. Gentle pulse pours (4–5 g/s) emphasize clarity and sweetness. A standard V60 pour (5–7 g/s) has a moderate flow, while faster recipes (7–8 g/s) increase body and intensity, though the margin for error shrinks.
Step-by-step routine for a 1:16 brew:
- Bloom: pour multiple times the coffee weight, wait about half a minute.
- First main pour: bring water to a majority of total weight in a steady spiral, aiming for a moderate flow in the 5–7 g/s range.
- Let the bed draw down until the water level drops near the grounds.
- Second main pour: bring water to full total weight at the same flow rate.
- Let it drain completely with a typical brew time of a few minutes.
| Recipe | Coffee | Water | Bloom | Main Pours | Target Time |
|---|---|---|---|---|---|
| Single cup | moderate dose | moderate water | bloom water scaled to dose | two pours to total water | typical brew duration |
| Standard cup | moderate dose | moderate water | bloom water scaled to dose | two pours to total water | typical brew duration |
Pro Tip: Keep your kettle spout a few centimeters above the bed for a gentle, controlled flow. Raising it higher increases impact force and agitation even at the same flow rate — useful for a brisker extraction but easy to overdo.
How pour rate interacts with grind, dose, and brew time
Pour rate doesn’t work in isolation. Change it without adjusting grind or dose and you’ll shift the cup, sometimes further than you intended.
The rules of thumb are straightforward:
- Faster pour → water moves through quicker → risk of under-extraction → compensate with a finer grind or a longer pause between pours.
- Slower pour → more contact time → risk of over-extraction → compensate with a coarser grind or shorter pauses.
- Larger dose → denser bed → water slows naturally → you may need a slightly faster pour to avoid over-extraction.
- Higher brew ratio (more water per gram of coffee) → more forgiving of pour speed variation.
Dense, high-altitude beans often benefit from slower, more deliberate pours. Older or lower-density beans can turn bitter quickly if water lingers, so a brisker pour keeps them in range. Roast level and bean density both change how aggressively water extracts flavor.
A practical example: you’re brewing 20 g of a light roast at 1:16 and the cup comes out sour. Before you reach for the grinder, try slowing your pour to 4–5 g/s and extending your bloom to 40 seconds. If the cup improves, the pour was the variable. If it stays sour, grind finer by one or two clicks.
Pro Tip: Adjust one variable per brew. Changing pour rate and grind at the same session makes it impossible to know which fix worked.
What gear actually helps you control flow rate
A gooseneck kettle is the single most impactful purchase for flow control. A standard kettle spout dumps water unpredictably; a gooseneck lets you hold a steady stream at a consistent height and speed. Everything else is secondary.
Core gear list:
- Gooseneck kettle: controls stream width and height; electric models with a temperature hold are worth the extra cost.
- Scale with a timer: lets you measure flow rate in real time (weigh your pour over 10 seconds, divide by 10).
- Consistent burr grinder: grind variability introduces more noise than pour variability; a blade grinder undermines every technique improvement.
- Stable dripper: V60, Kalita Wave, or Chemex each have different drawdown speeds; know which one you’re using and adjust pour rate accordingly.
Setup checklist before each brew: water at 90–96°C, filter pre-wet and discarded, bed leveled, kettle filled and at temperature. Mug shape matters more than most people expect. A wide, shallow mug under a dripper changes drawdown speed slightly because of air pressure dynamics. For more on how mug geometry affects your brew, that’s worth a quick read before you buy new drinkware.
Troubleshooting your cup: symptoms, causes, and fixes
| Symptom | Likely Cause | Fix |
|---|---|---|
| Sour, thin cup | Under-extraction; pour too fast or bloom too short | Slow pour to 4–5 g/s (gentle pulse); extend bloom to 40–45 s; or grind finer |
| Bitter, harsh cup | Over-extraction; pour too slow or contact time too long | Speed up to 7–8 g/s (faster recipe); shorten pauses; or grind coarser |
| Muddy, cloudy cup | Excess agitation; fines clogging filter | Lower kettle height to 3–5 cm; reduce pour force |
| Uneven extraction (sour and bitter) | Channeling from inconsistent pour or dry spots | Slow the bloom pour; use a tighter spiral; level the bed before pouring |
| Flat, lifeless cup | Under-agitation or stale beans | Raise kettle slightly; check bean freshness; try a slightly faster pour |
When a cup tastes off, work through this sequence:
- Observe: is it sour, bitter, or both?
- Isolate: did your pour feel different today? Check your flow rate.
- Adjust one variable: pour speed first, then grind, then dose.
- Re-test on the next brew with that single change held.
Pro Tip: Keep a small notebook or use your phone’s notes app to log each brew: dose, water weight, bloom time, flow rate, and tasting notes. After five or six brews, patterns become obvious. Without a log, you’re guessing.
Key Takeaways
A consistent pour rhythm is the foundation of repeatable extraction — lock it in first, then use grind size to fine-tune flavor.
| Point | Details |
|---|---|
| Pour rate controls extraction | Too fast causes sour, thin cups; too slow causes bitter, woody ones. |
| Bloom first, always | Use 2–3× coffee weight in water and wait 30–45 seconds to degas before main pours. |
| Target 4–8 g/s | Gentle pours (4–5 g/s) favor clarity; standard V60 pours (5–7 g/s) balance body and brightness; faster flows (7–8 g/s) boost intensity and risk uneven extraction. |
| Adjust one variable at a time | Change pour rate or grind per brew session, never both, so you know what moved the cup. |
| Dkbeanleaf gear supports the routine | The right mug and drinkware setup from Dkbeanleaf pairs with consistent pour technique for a better cup every time. |
The part most guides skip
The obsession with finding the “perfect” pour speed is a trap. Speed is a proxy. What you’re actually after is repeatability — the ability to pour the same way twice so that when the cup changes, you know the variable that changed it.
Most home brewers spend months chasing a theoretically ideal flow rate while their actual technique varies by 3–4 g/s from brew to brew. That variation swamps any benefit from dialing in the “right” number. A steady 5 g/s every single time beats an inconsistent 6 g/s that occasionally hits 4 and occasionally hits 8.
The other thing worth saying plainly: gear helps, but it doesn’t replace feel. A gooseneck kettle gives you the tool; your wrist gives you the control. Spend two weeks pouring deliberately slowly, watching the bed, timing the bloom, and logging what you taste. The improvement will be faster than any equipment upgrade.
Gear and apparel for brewers who take their cup seriously
Better pours start with gear that gives you control, and they’re more enjoyable when you’re wearing something you actually like. Dkbeanleaf carries drinkware designed with pour-over brewers in mind, including mugs that pair with standard dripper setups and complement the drawdown dynamics covered in this guide. Browse the tea and drinkware collection for cups that fit your brewing ritual.

For the days when you’re waiting on that bloom timer, Dkbeanleaf’s hoodies and sweatshirts are made for exactly that kind of slow, deliberate morning. Pick your mug, pick your hoodie, and give the bloom its full 45 seconds.
Useful sources and further reading
The research and practical guides behind this article are worth bookmarking if you want to go deeper on flow rate science or specific recipes.
- What Happens When You Pour Too Fast (or Too Slow) — Ratio Coffee: clear breakdown of under- and over-extraction caused by pour speed, with practical examples.
- Master Your Pour Speed: Unlock Perfect Pour Over Coffee — Coffee Informer: the case for consistency over chasing a single ideal speed; useful for dialing in grind as your primary variable.
- Slow Pour Coffee: Why Flow Rate Matters More Than You Think — InstaCuppa: covers agitation, fines migration, and pour height effects in accessible language.
- How to Make Pour-Over Coffee — Coffee Gear Hub: solid step-by-step guide with bloom timing and water ratios.
- Ideal Flow Rate for Pour Over Coffee — MantaBrew: the most detailed source on flow-rate ranges (4–8 g/s) and how to measure them at home.
- The Science Behind Pour Over Coffee — Home Barista Guide: covers gooseneck kettle mechanics and grind interaction with flow rate.
Experiment with one variable at a time, log your results, and trust the process. The difference between a sour cup and a sweet one is often a single, steady pour.